 Skip to content



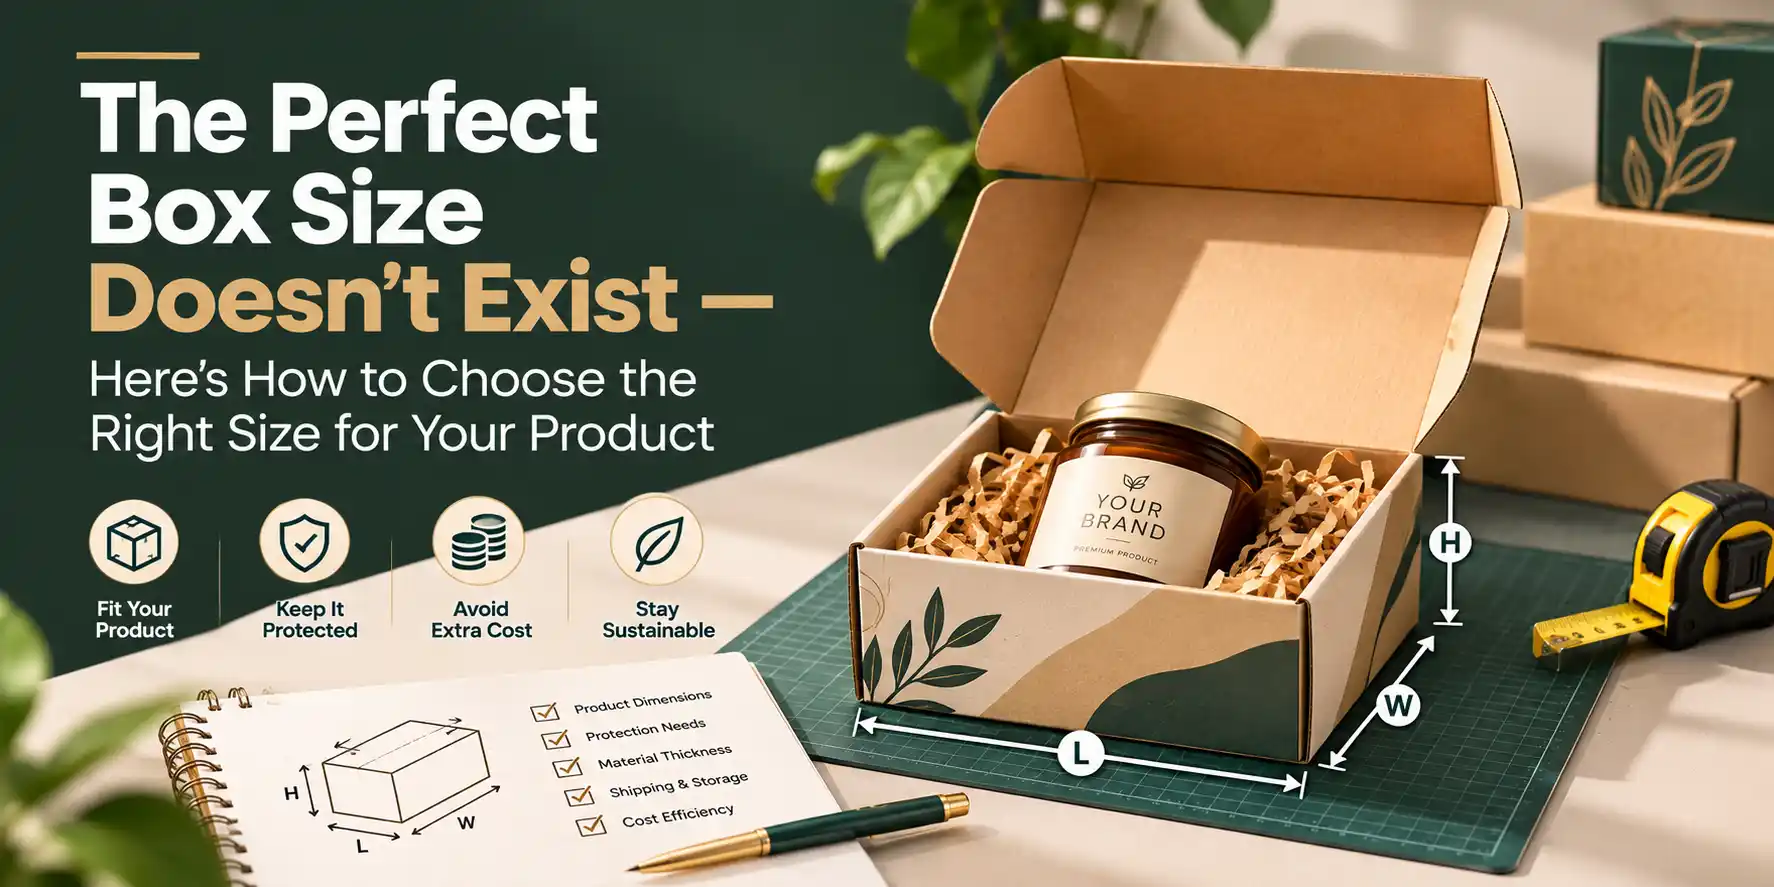




The Perfect Box Size Doesn’t Exist
The right box size is your product’s dimensions plus the space needed for an insert and a small clearance on every side. Measure the product at its longest, widest, and tallest points, add those allowances, and order using internal dimensions. Then test the fit with a sample before you print.
There is no universal perfect size because every product, insert, and shipping method is different. What exists is the best size for your setup. This guide shows you how to find it.
Key Takeaways
- Size is a formula, not a guess: product dimensions + insert thickness + clearance, on every side.
- Always order by internal dimensions, and always state length, width, and height in the same order.
- Too big costs you in material, shipping, and product movement. Too small costs you in crushed corners and hard-to-close lids.
- Different box styles measure and tolerate fit differently. Ask your supplier how theirs behaves.
- A sample or prototype is the cheapest insurance against a wrong-size print run.
Why Box Size Matters More Than Most People Expect
Size affects four things at once:
- Protection: a loose product slides and hits the walls. A tight product presses against the walls and crushes at the edges.
- Cost: a larger box uses more material, so the unit price rises.
- Shipping: carriers often charge by the greater of actual weight or dimensional weight, which is based on package size. A box with spare space can cost more to ship than the product’s weight suggests.
- Customer impression: a product swimming in an oversized box looks wasteful. A product that is hard to pull out looks cheap.
Getting size right protects your product, your margin, and your brand at the same time.
Step 1: Measure Your Product Correctly
Measure the product at its longest, widest, and tallest points. Do not measure a curved side at its narrowest part. Measure where it sticks out the most.
Record three numbers:
- Length (L): the longest side of the box opening
- Width (W): the shorter side of the box opening
- Height or depth (H/D): from the box floor to the top opening
Use the same order every time you communicate dimensions. Mixing up the order is one of the most common causes of wrong-size boxes.
Tips for measuring:
- Use a ruler or calipers, not an estimate.
- If your product has packaging inside (a bottle with a cap, a device with a cable), measure it packed.
- If your product varies in size between batches, measure the largest one.
- Write down the unit (mm, cm, or inches) next to every number.
Step 2: Understand Internal vs External Dimensions
This is where many orders go wrong.
- Internal dimensions are the usable space inside the box. This is what your product has to fit into.
- External dimensions are the outside measurements. They are larger because the board has thickness on each side.
For corrugated boxes especially, the wall thickness can add noticeably to the outside size. For rigid boxes, the wrapped board adds thickness too. For shipping and storage planning, use external dimensions. For product fit, use internal dimensions.
Rule: order by internal dimensions, then check the external size for shipping and storage.
[INTERNAL-LINK: box dimension guide / dieline requirements → artwork or dieline page]
Step 3: Add Allowances for Inserts and Clearance
Your product’s size is the starting point, not the final box size. Add two allowances on each side:
- Insert or padding thickness: paperboard, molded pulp, or foam all take up space.
- Clearance: a small gap so the product slides in and out easily and the lid closes without strain.
The Simple Formula
Internal size = product size + (insert thickness + clearance) × 2
(Multiply by 2 because the allowance applies to both sides of each dimension.)
Worked Example
Say your product measures 6 × 4 × 2 in (15.2 × 10.2 × 5.1 cm). You plan a paperboard insert about 1/8 in (3 mm) thick and want about 1/8 in (3 mm) of clearance per side.
- Allowance per side: 1/8 + 1/8 = 1/4 in (6 mm)
- Total added per dimension: 1/4 × 2 = 1/2 in (12 mm)
| Dimension | Product | Allowance | Internal box size |
|---|---|---|---|
| Length | 6 in (15.2 cm) | + 0.5 in | 6.5 in (16.5 cm) |
| Width | 4 in (10.2 cm) | + 0.5 in | 4.5 in (11.4 cm) |
| Height | 2 in (5.1 cm) | + 0.5 in | 2.5 in (6.4 cm) |
These allowance values are an example, not a rule. Fragile products, thicker inserts, and tight-fit rigid boxes may need different numbers. Confirm with your supplier.
Step 4: Adjust for Your Box Style
Different box styles treat size and fit differently.
Mailer boxes. A snug fit works best, because the product should not shift in transit. Allow room for the insert and for tissue or a card if you use them.
Corrugated shipping boxes. Leave room for protective material if the product is fragile. For very heavy products, a tight fit reduces movement, but make sure the walls are strong enough for the weight.
Rigid boxes. These need a precise fit, because the lid and base are made separately and the gap between them is visible. Ask your supplier about lid tolerance and the best allowance for your product.
Folding cartons. The carton should hold the product firmly without bulging. Consider whether the product will be filled by hand or by machine, since machine filling often needs more clearance.
Step 5: Think About Shipping and Storage
Box size should make sense beyond the product itself.
- Dimensional weight: if you ship by courier, check how your carrier calculates it. Trimming even a small amount of unused space can lower shipping cost over many orders.
- Fit in shipping cartons: if boxes go inside a larger carton, plan sizes so they pack efficiently.
- Storage space: mailers and folding cartons ship flat. Rigid boxes arrive assembled and take more room.
- Multiple products: if you sell sets or bundles, decide whether one box size will suit several configurations or whether each needs its own.
Standardizing on one or two box sizes across product lines often reduces cost and simplifies ordering.
Step 6: Test Before You Commit
Never approve a full print run on measurements alone.
Ways to test fit:
- Plain white sample: a blank box in your exact size shows fit without printing cost.
- Digital or printed prototype: this shows fit and design together.
- Real shipping test: put the packed product in the box and ship it to yourself, or drop-test it from table height.
What to check:
- Does the product slide in and out easily?
- Does it stay still when you shake the box gently?
- Does the lid close without pushing?
- Do corners and edges stay intact?
- Is the artwork placed correctly on the real box?
If anything feels off, fix it now. A change at sample stage costs little. A change after printing means starting over.
Common Box Size Mistakes
- Ordering by external size by accident. The product ends up too big for the box.
- Forgetting the insert. The product fits, but not with the insert in place.
- Measuring unpacked product. Caps, cables, and cards add size.
- Zero clearance. The product jams in, and the lid will not close properly.
- Too much clearance. The product rattles and arrives damaged.
- Mixing up L, W, and H. The box comes out the wrong shape.
- Skipping a sample. Small errors become expensive in a full run.
- Changing the product later. If your product or insert design may change, confirm the box size first.
Quick Sizing Checklist
- Product measured at its widest points, in the same unit throughout
- Packed state measured (cap, cable, extras included)
- Length, width, and height recorded in a consistent order
- Insert thickness and clearance added to every side
- Order placed using internal dimensions
- External size checked against shipping and storage
- Sample or prototype tested before printing
- Dimensions confirmed with your supplier in writing
Frequently Asked Questions
How do I know what size box I need for my product?
Measure your product’s length, width, and height at the largest points. Add the thickness of any insert plus a small clearance to every side. Order using those internal dimensions, then test with a sample.
What is the difference between internal and external box dimensions?
Internal dimensions are the usable space inside the box. External dimensions are the outside measurements and are larger because the board has thickness. Order by internal size for fit, and use external size for shipping and storage planning.
Which order do I write box dimensions in?
The common order is length, width, then height (or depth). Length and width describe the opening, and height is the depth of the box. State the order clearly when you send dimensions to your supplier to avoid confusion.
How much extra space should I leave around my product?
It depends on the product, the insert, and the box style. A small clearance, often a few millimeters per side, is a common starting point, but fragile or oddly shaped products may need more. Confirm with your supplier and test with a sample.
What happens if my box is too big?
The product can move and get damaged, you pay for extra material, and you may pay more to ship. It can also make your brand look careless.
What happens if my box is too small?
The product can press against the walls, edges can crush, and the lid may not close properly. It may also be hard for the customer to remove the product.
Can I use one box size for several products?
Yes, if the products are similar in size and you add inserts to hold each in place. This can reduce ordering complexity and cost. Keep protection in mind for the smallest product in the group.
Should I order a sample before a full run?
Yes. A sample or prototype lets you check fit, strength, and artwork placement before you commit. It is usually much cheaper than reprinting a wrong-size run.
[INTERNAL-LINK: how to order custom packaging step by step → ordering process page]
Conclusion
Choosing a box size is a short process once you know the steps.
- Measure the product accurately and in a consistent order.
- Add insert thickness and clearance to every side.
- Order by internal dimensions and check the external size for shipping.
- Adjust for your box style.
- Test with a sample before printing.
Not sure what size your product needs? Send us your product’s dimensions, weight, and how you ship it. We’ll calculate the right internal size, recommend a box style, and prepare print-ready artwork.
