 Skip to content





Small Business Packaging Guide
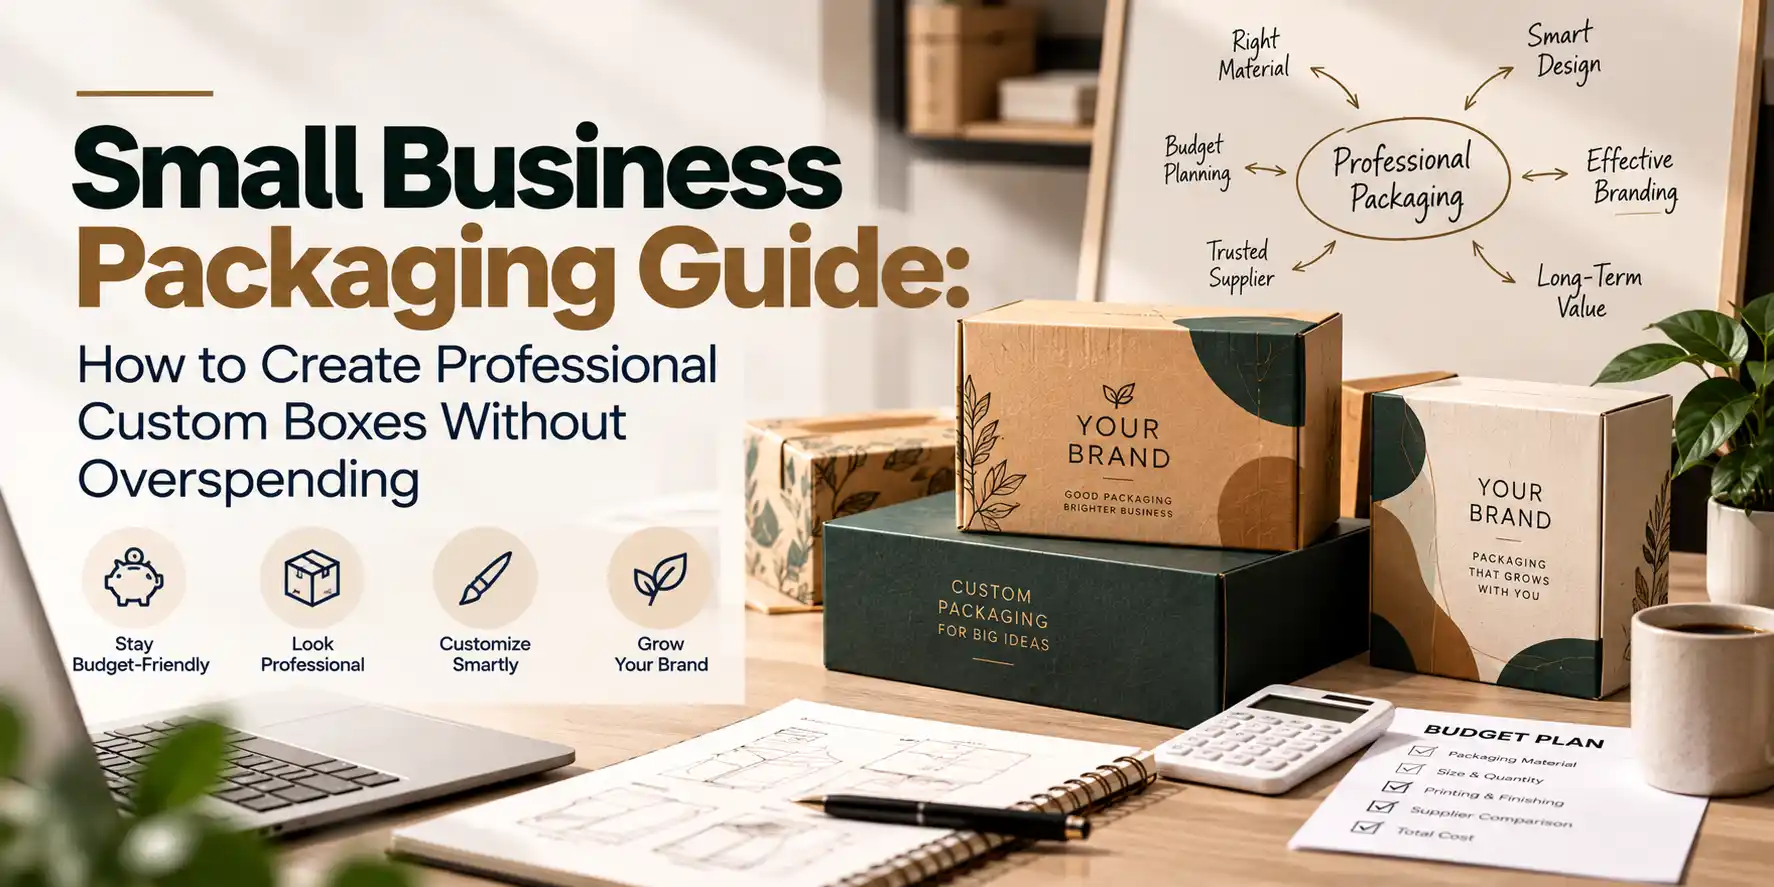
You can get professional custom boxes on a small budget by controlling five things: box style, size, print complexity, order quantity, and artwork quality. Most overspending comes from choices made before the order, such as over-designed boxes, wrong sizes, and print files that need fixing.
This guide shows where the money goes in custom packaging and which decisions save the most without making your brand look cheap.
Key Takeaways
- Box style and size set your base cost. Choose the simplest structure that protects your product.
- Keep print simple. One or two colors and one standout detail often look more professional than many effects.
- Test with a sample or small run first. Reprinting a bad design costs more than any discount on volume.
- Clean, print-ready artwork prevents delays and reprint charges.
- Spend on the parts the customer sees and touches first. Save on the parts they never notice.
Where Your Packaging Money Actually Goes
Custom packaging cost is shaped by a handful of factors. Knowing them lets you decide what to spend on and what to skip.
| Cost factor | What drives it | How to control it |
|---|---|---|
| Box style | Complexity of structure and assembly | Choose a standard structure like a mailer or folding carton |
| Size | Amount of board used | Order the smallest size that fits the product and insert |
| Material | Board thickness and quality | Match strength to product weight, not to the thickest option |
| Printing | Number of colors, coverage, method | Limit colors; print where the customer looks first |
| Finishes | Lamination, foil, embossing, spot effects | Pick one finish, not several |
| Inserts | Custom shape and material | Use simple paperboard inserts unless the product is fragile |
| Quantity | Setup cost spread across units | Order enough to lower unit cost, but not more than you can sell |
Step 1: Pick the Simplest Box That Protects Your Product
The cheapest box that does the job is usually a standard structure with custom printing. Fancy structures such as magnetic closures, multi-piece sets, and window cutouts add cost fast.
For most small businesses:
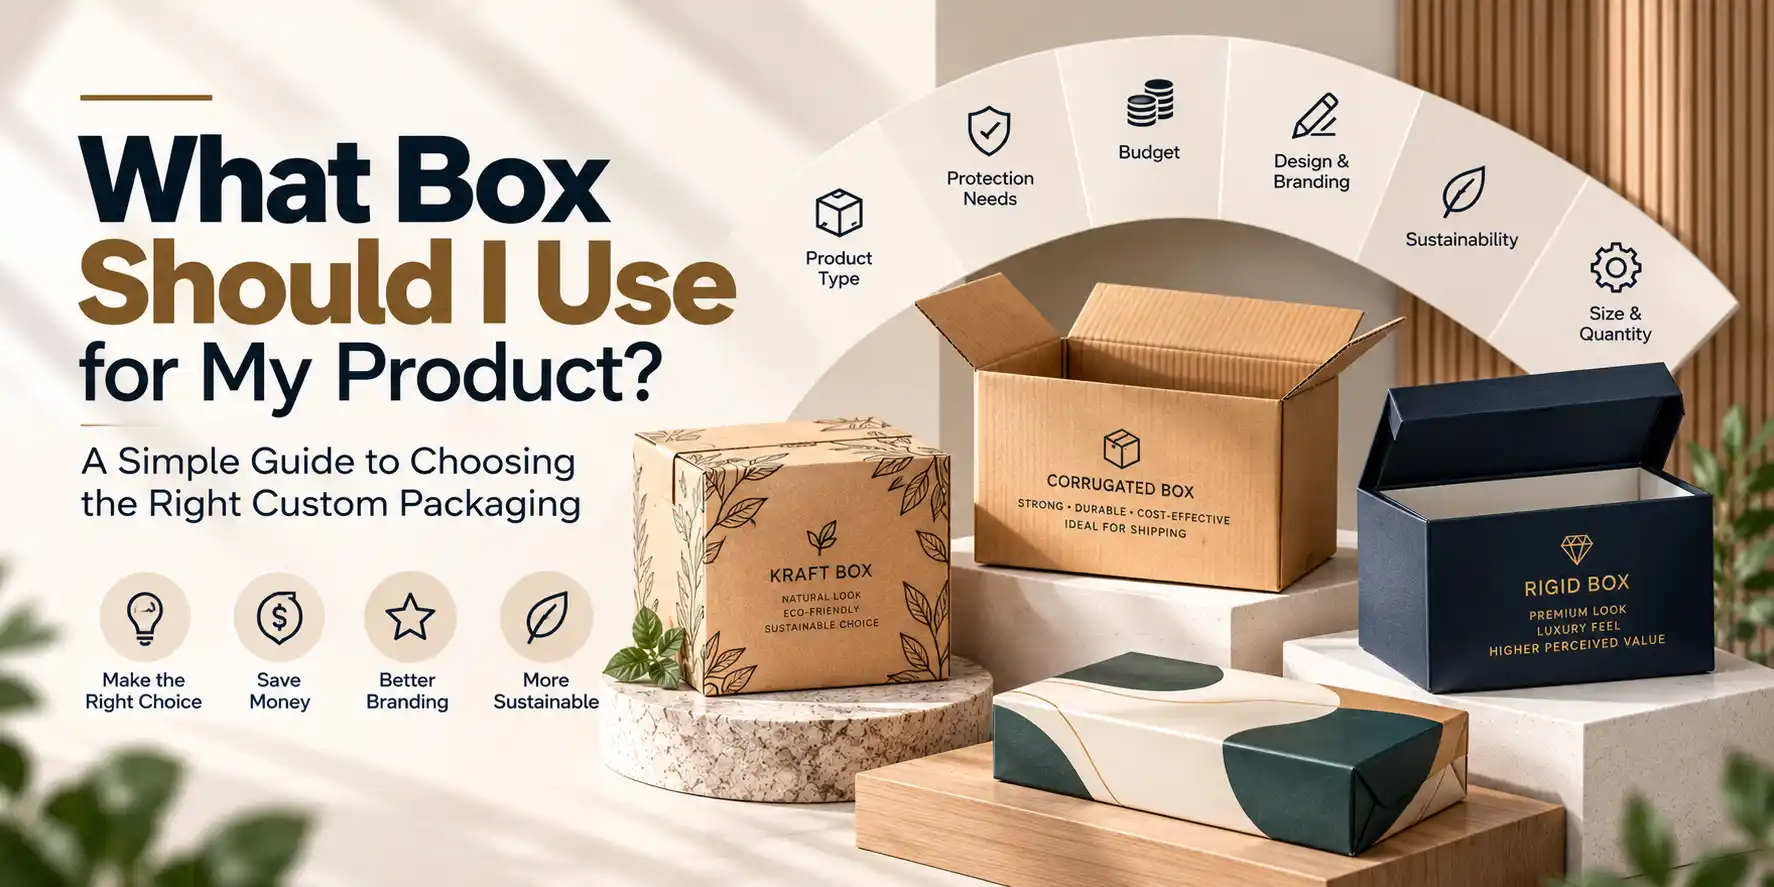
- Mailer boxes suit e-commerce products and give you branded space inside and out.
- Folding cartons suit retail products and low per-unit cost.
- Corrugated shipping boxes suit heavy or fragile goods.
- Rigid boxes suit premium products where the box is part of the value.
If you are unsure, read our guide on how to choose the right box for your product
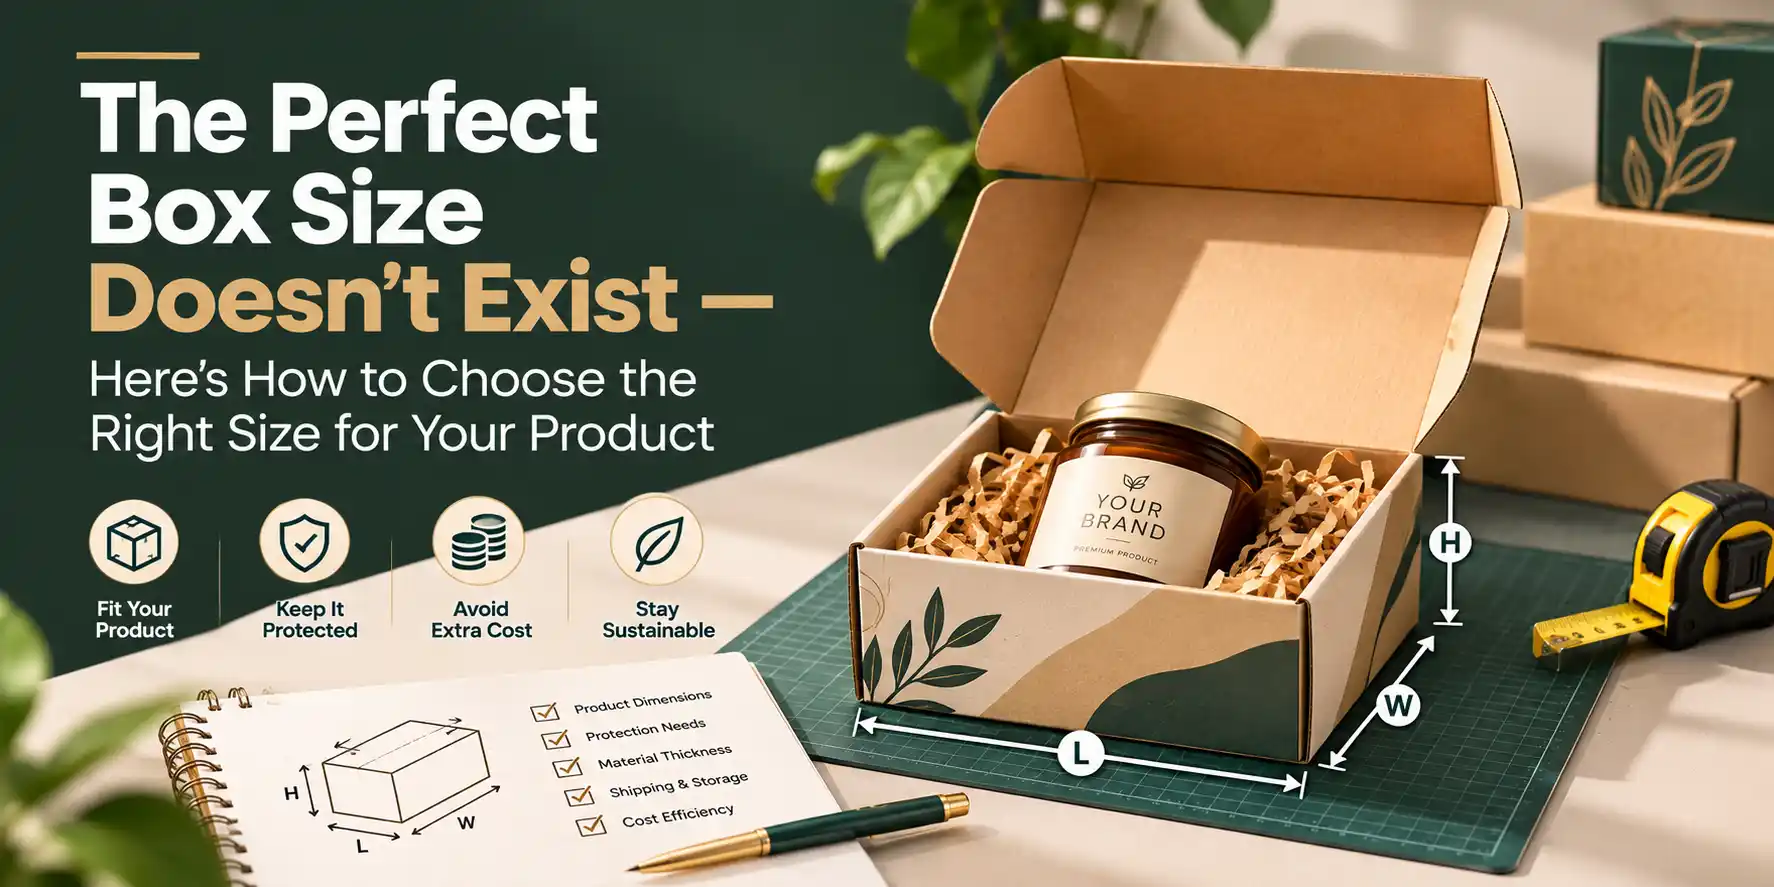
Step 2: Get the Size Right to Avoid Paying for Air
Box cost rises with size, and shipping often does too. A box a few millimeters too large on each side adds material cost on every unit you order, and may push you into a higher shipping tier.
To size well:
- Measure the product at its longest, widest, and tallest points.
- Add space for an insert or protective material.
- Order using internal dimensions.
- Confirm fit with a sample before printing.
Step 3: Keep Printing Smart, Not Complicated
Printing is where many first-time buyers overspend. More colors, full coverage, and layered finishes raise the price, and they do not always raise the perceived quality.
Ways to look premium on a small budget:
- Use one or two brand colors. A single strong color on kraft or white board looks deliberate.
- Print one hero element. A logo on the lid, a pattern inside the lid, or a bold sleeve can carry the whole design.
- Choose a single finish. Matte lamination alone looks refined. Matte plus foil plus emboss plus spot gloss quickly adds up.
- Use negative space. Clean layouts look more expensive than crowded ones.
Printing method matters too. In general, digital printing suits smaller runs because setup is light. Offset printing suits larger runs where setup cost spreads across many units. Ask your supplier which fits your quantity.
Step 4: Choose Materials That Fit the Job
You do not need the thickest or most luxurious board for every product.
- Kraft board gives a natural look at a sensible cost and appeals to brands with an eco-minded identity.
- White board takes color printing well and suits clean, bright designs.
- Corrugated board adds protection for shipping. Choose the strength your product weight and route need.
- Rigid board with wrapped paper is the premium option. Use it when the box itself is part of what you sell.
A good rule: spend on strength where the product is at risk, and spend on looks where the customer sees it first.
Step 5: Order Quantity Without Getting Stuck With Stock
Unit cost usually drops as quantity rises, because setup costs are shared across more boxes. But a large first order is risky if you may change the design, product size, or branding.
A safer path:
- Order a sample or prototype to check fit, strength, and feel.
- Run a small first batch to test with real customers and real shipping.
- Fix any issues with size, insert, or artwork.
- Scale up once the design is proven.
Also check storage. Flat-shipped boxes such as mailers and cartons take much less space than assembled rigid boxes.
Ask your supplier about minimum order quantities and lead times before you commit, so you can plan around them.
Step 6: Prepare Print-Ready Artwork to Avoid Reprints
Bad files cause delays, color problems, and sometimes a reprint. Clean artwork is one of the cheapest ways to protect your budget.
Checklist for print-ready files:
- Use the supplier’s dieline template for your exact box size.
- Keep text and logos inside the safe margins.
- Extend background color or images into the bleed area.
- Convert text to outlines or embed fonts.
- Use high-resolution images and vector logos.
- Design in a print color mode and expect small differences from screen color.
If you are not a designer, ask your supplier whether they offer artwork preparation or review. This can save time and avoid costly errors.
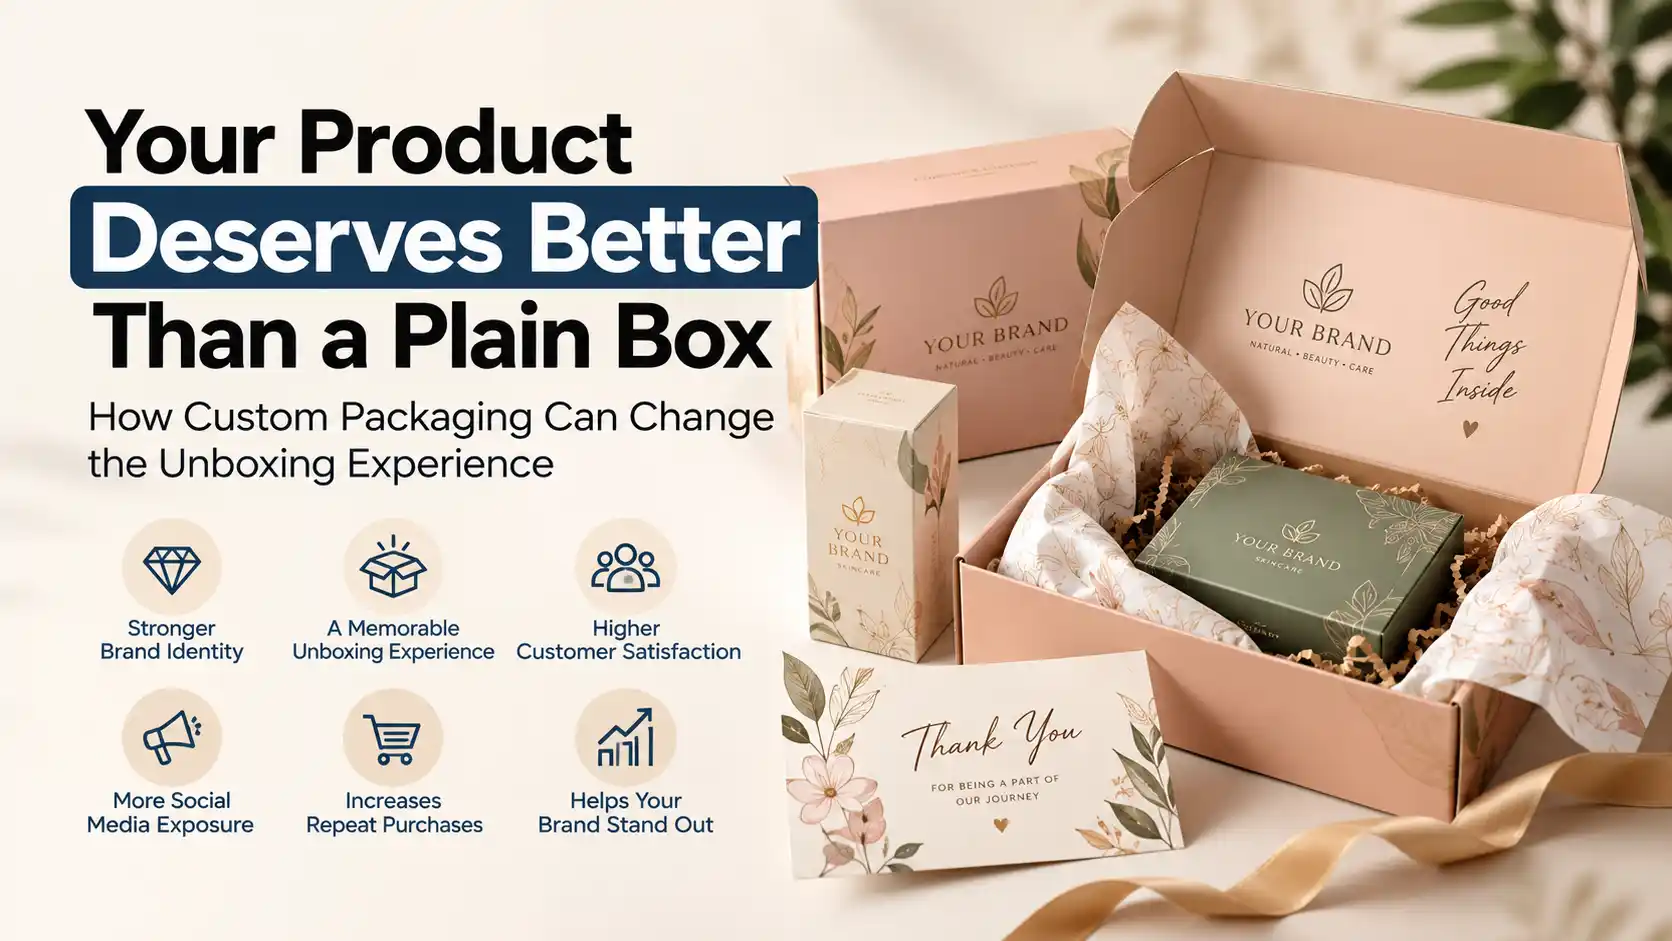
Step 7: Make the Unboxing Feel Premium Without Premium Costs
A strong unboxing does not have to be expensive. Ryder’s 2025 e-commerce consumer study, which surveyed 1,376 U.S. online shoppers, found that 47% named a future-purchase coupon or credit as the unboxing factor most likely to make them shop with a brand again, ahead of free samples at 24% and sustainable packaging at 16% (Packaging Dive, 2025). A well-designed thank-you card with a returning-customer offer can do as much for repeat orders as an expensive box.
Low-cost ways to improve the experience:
- Print a short message or pattern inside the lid.
- Add a branded insert card with care tips or a reorder offer.
- Use matching tissue, a sticker seal, or a simple belly band.
- Keep the box easy to open and the product easy to remove.
Pick two or three that suit your brand. A consistent look beats a long list of extras.
Common Mistakes That Waste Money
- Over-designing the first order. Add effects after you know what customers respond to.
- Skipping samples. A screen mockup does not show real size, texture, or color.
- Ordering the wrong size. A resize after printing means starting again.
- Choosing by price alone. A cheap box that arrives crushed costs you the product, the shipping, and the customer.
- Late artwork changes. Fixes after approval can delay your order and add cost.
- Ignoring shipping weight. Heavy packaging raises delivery cost on every order.
A Simple Budget Plan for a Small Business
Use this three-stage approach to keep spending under control:
Stage 1: Test. Order a sample or a small batch with a simple structure and simple print. Check fit, protection, and brand look.
Stage 2: Refine. Adjust size, insert, and artwork based on real shipping and customer feedback.
Stage 3: Scale. Increase quantity once the design is proven, and add one upgrade (such as a finish or custom insert) where it will be noticed most.
Frequently Asked Questions
How can a small business get custom boxes without overspending?
Choose a standard box structure, keep printing to one or two colors, order the right size, and use clean print-ready artwork. Start with a sample or small run, then scale once the design works.
What is the cheapest type of custom box?
Simple folding cartons and standard mailer boxes with limited printing are usually among the most affordable custom options. Cost depends on size, material, print, and quantity, so request a quote for your exact specifications.
Is a minimum order quantity required for custom packaging?
Most custom packaging has a minimum order quantity because of setup costs. It varies by box style and printing method, so confirm it with your supplier before you design.
Should I use digital or offset printing for a small order?
Digital printing generally suits smaller runs because setup is light. Offset printing generally suits larger runs where setup cost spreads across more units. Ask your supplier which is better for your quantity and design.
Do I need a professional designer for my packaging?
Not always. A clean layout built on your supplier’s dieline can work well. If you are unsure about print-ready files, ask your supplier for artwork support or review.
How do I make cheap packaging look premium?
Use a limited color palette, one strong design element, generous white space, and a single quality finish. Add small touches like a printed lid interior or a thank-you card.
Custom packaging order process
Conclusion
Professional packaging does not require a big budget. It requires clear decisions made in the right order.
- Choose the simplest box that protects your product.
- Get the internal size right and confirm it with a sample.
- Keep print simple and put your best detail where customers see it first.
- Start small, test, then scale.
- Send clean, print-ready files.
Want professional custom boxes that fit your budget? Send us your product details, quantity, and budget range. We’ll recommend a box style and material, and prepare print-ready artwork for you.
